
Beyond These Stars Guide: Surviving Your First Colony
A practical Beyond These Stars guide to pollution control, adjacency effects, terraforming, tech unlocks, perks and exploring the galaxy on Kewa.
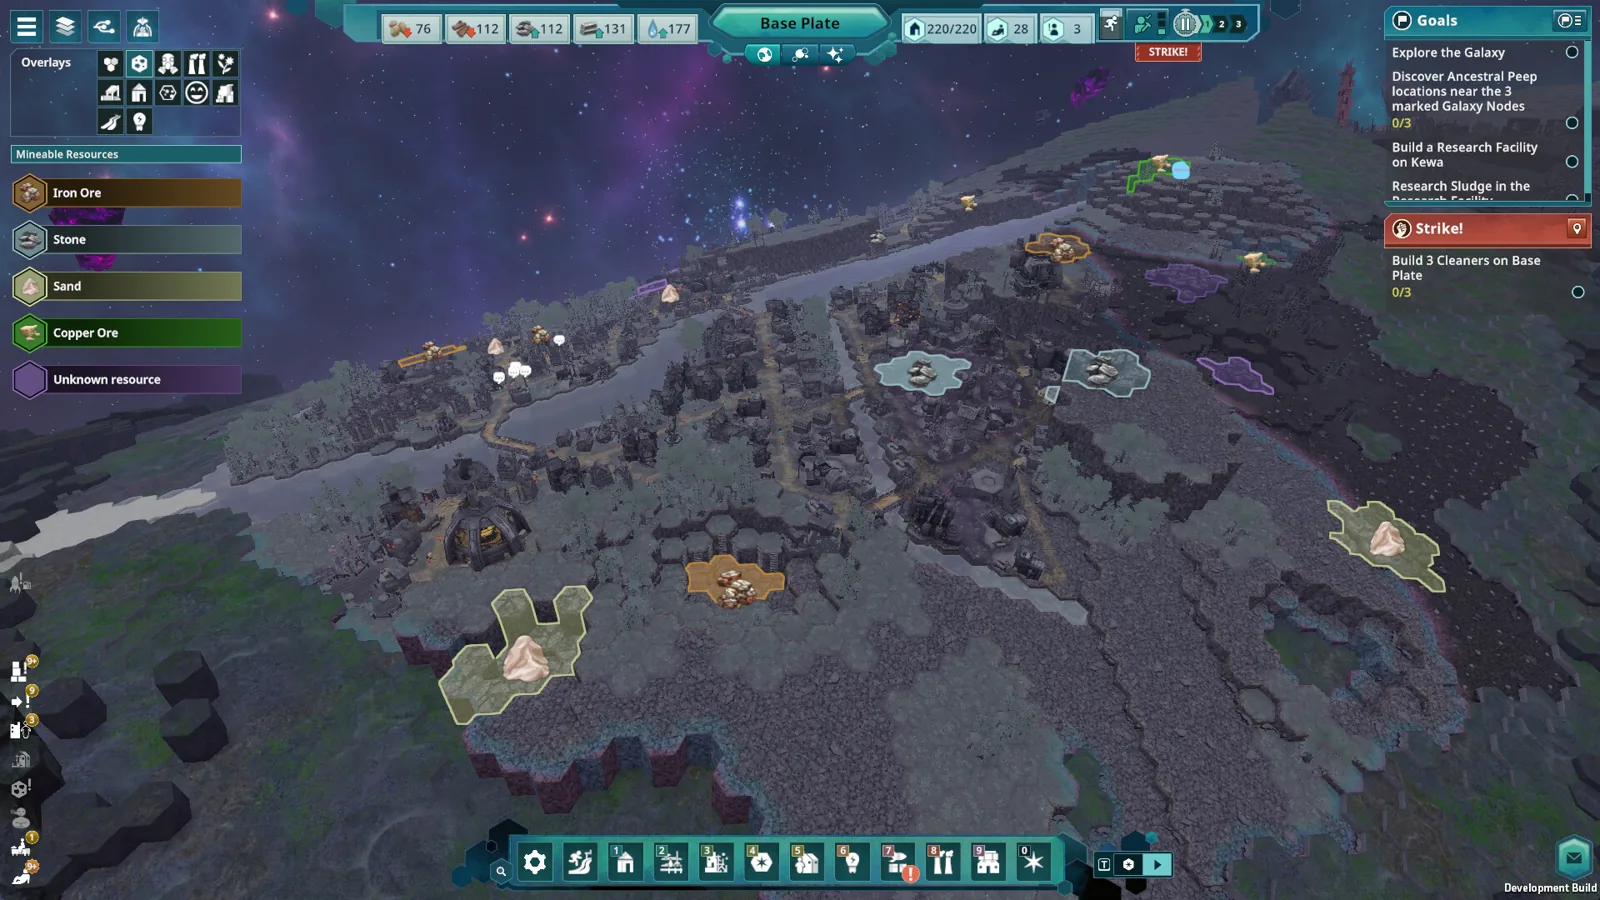
Table of Contents
Beyond These Stars is a survival-minded city builder set on the back of a space whale named Kewa. The short version of this guide: treat pollution as your first constraint, build industry in small clusters instead of one large district, and expand only when your supply chains can support it. The campaign tutorial covers water, food, wood and basic housing, but the LadiesGamers review calls the learning curve steep for newcomers. This page focuses on the early bottlenecks and the systems that trip up new colonies, not a full campaign route.
Start with pollution, not sprawl
The most common early mistake is to copy the industrial-district habit from other city builders. In Beyond These Stars, pollution is not a cosmetic overlay. Polluted tiles can become toxic, and buildings inside toxic waste stop functioning. Kewa's mood and health suffer too. The “Before You Buy” reviewer, who says they played about 30 hours across two colonies, found pollution a tighter early constraint than food, water or housing.
The practical response is a distributed industrial network. Put a burner generator or ore smelter in a small cluster, surround it with trees, and add a cleaner for the pollution that escapes. Trees absorb pollution; cleaners cover a radius. A large district is harder to keep clean than several small ones, and it is easier to lose a whole production chain when one toxic tile spreads.
Place buildings for adjacency, not for a perfect grid
Most buildings show an adjacency panel when selected, and the effects are trade-offs rather than free bonuses. In the first-look video, a potato patch next to a water pump gets a production speed bonus, while two potato patches next to each other trade production speed for extra storage. Huts near potato patches make Peeps happier; huts packed next to other huts hold more Peeps but drain their energy. A burner generator likes nearby empty tiles: it produces less pollution, but also runs slower.
That means the best layout is not “stack every bonus.” Decide what the colony needs now. If potatoes are short, space the patches out and put them near water. If you need to stockpile, accept the slower production and use the storage. The same logic applies to industry: a chemical factory next to a cement factory may generate extra resources but add pollution, so separate them if your cleaners and trees are already stretched.
Terraform to open the map
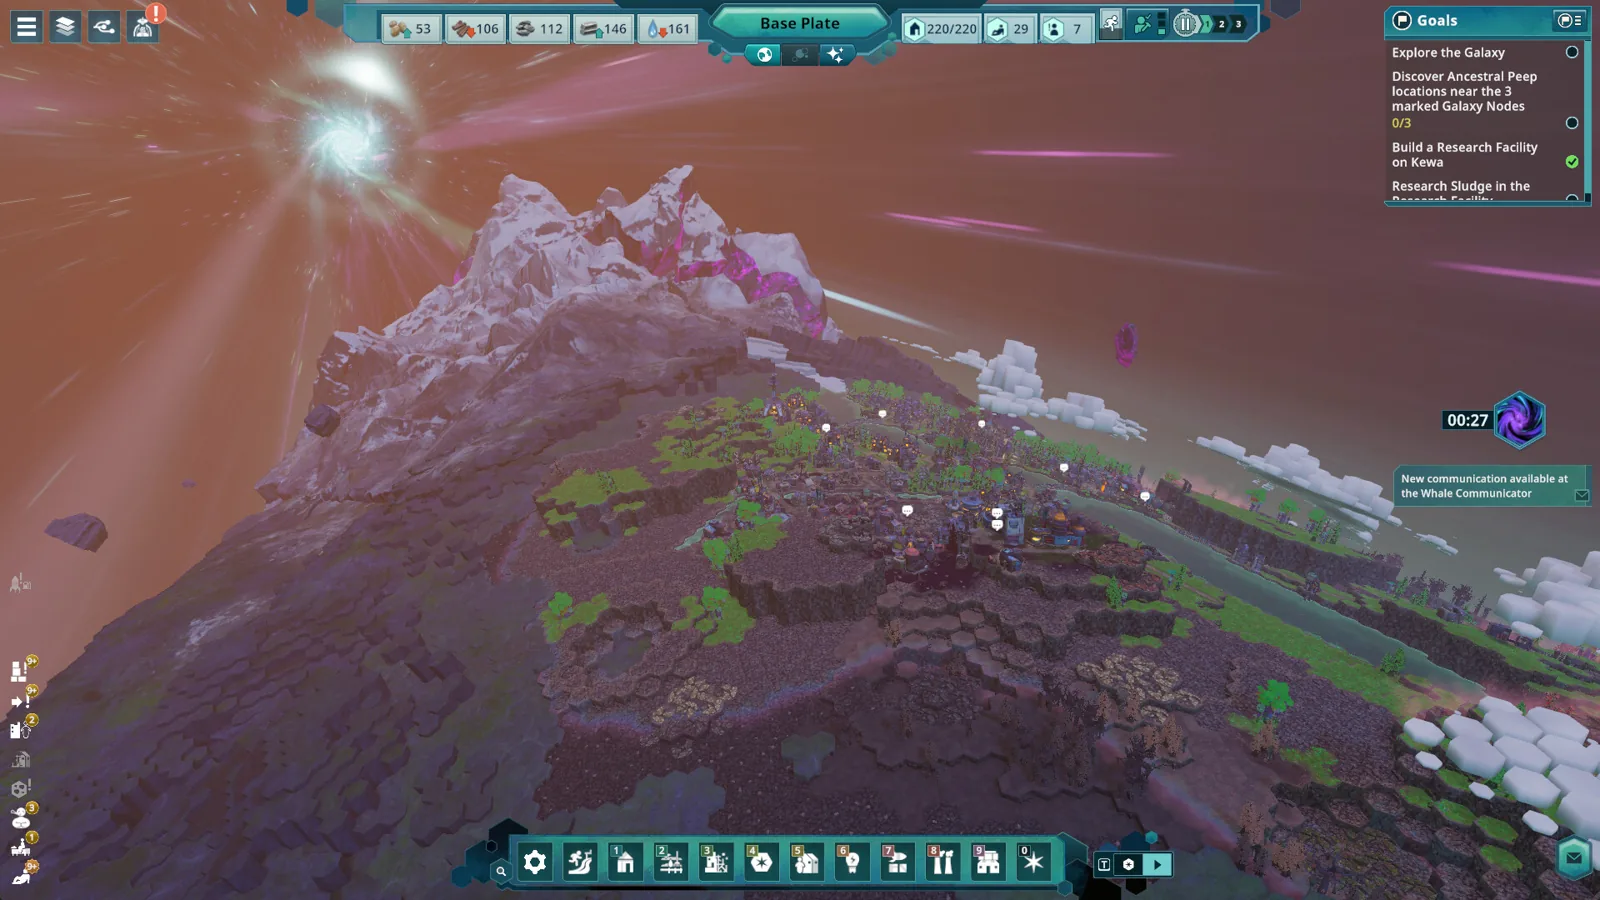
Your buildable area is limited by breathable air. Tiles outside the oxygen boundary cannot be worked, which can leave part of a resource deposit stranded. Terraforming is the answer, and it unlocks in stages:
- Landscaping raises or lowers terrain. Lowering land can let water flow in, which can expand the oxygen pocket and open new ground.
- Composting turns debris-covered or bare tiles into fertile land that can support trees or farms.
- Tree planting creates forests, which absorb pollution and help the air pocket.
The “Before You Buy” reviewer found landscaping the most important of the three because it opens inaccessible resource deposits. Use it deliberately: a new pond or a lowered shelf can be worth more than another building in your crowded starting area.
Unlock tech by producing, then spend perk points
You do not research buildings by spending a generic science currency. You unlock them by producing the right goods. A mine unlocks after you build a wood cutter and produce wood; producing iron ore opens the burner generator and ore smelter; a toolsmith needs an ore smelter and iron ore, and producing tools opens the sawmill. The first-look video shows this chain clearly: each new building tends to unlock the next link.
Every building you unlock also earns perk points. Perks are a web, and you generally need to open a neighbouring perk to reach the one you want. Some are pure bonuses, but many are conditional: a perk that helps plants in hot temperatures can be a penalty in a cold sector. You will not fill the whole web, so spend points for the route you are actually travelling.
Do not strip the whale: finite resources and exploration
Mines deplete, and unwanted byproducts can clog a production chain. The LadiesGamers review warns that ignoring depleted deposits and blocked byproducts can make a save much harder to recover. Keep an eye on limited resources, leave room for replacement mines, and check whether a building is stopped because its output storage is full or because a byproduct has nowhere to go.
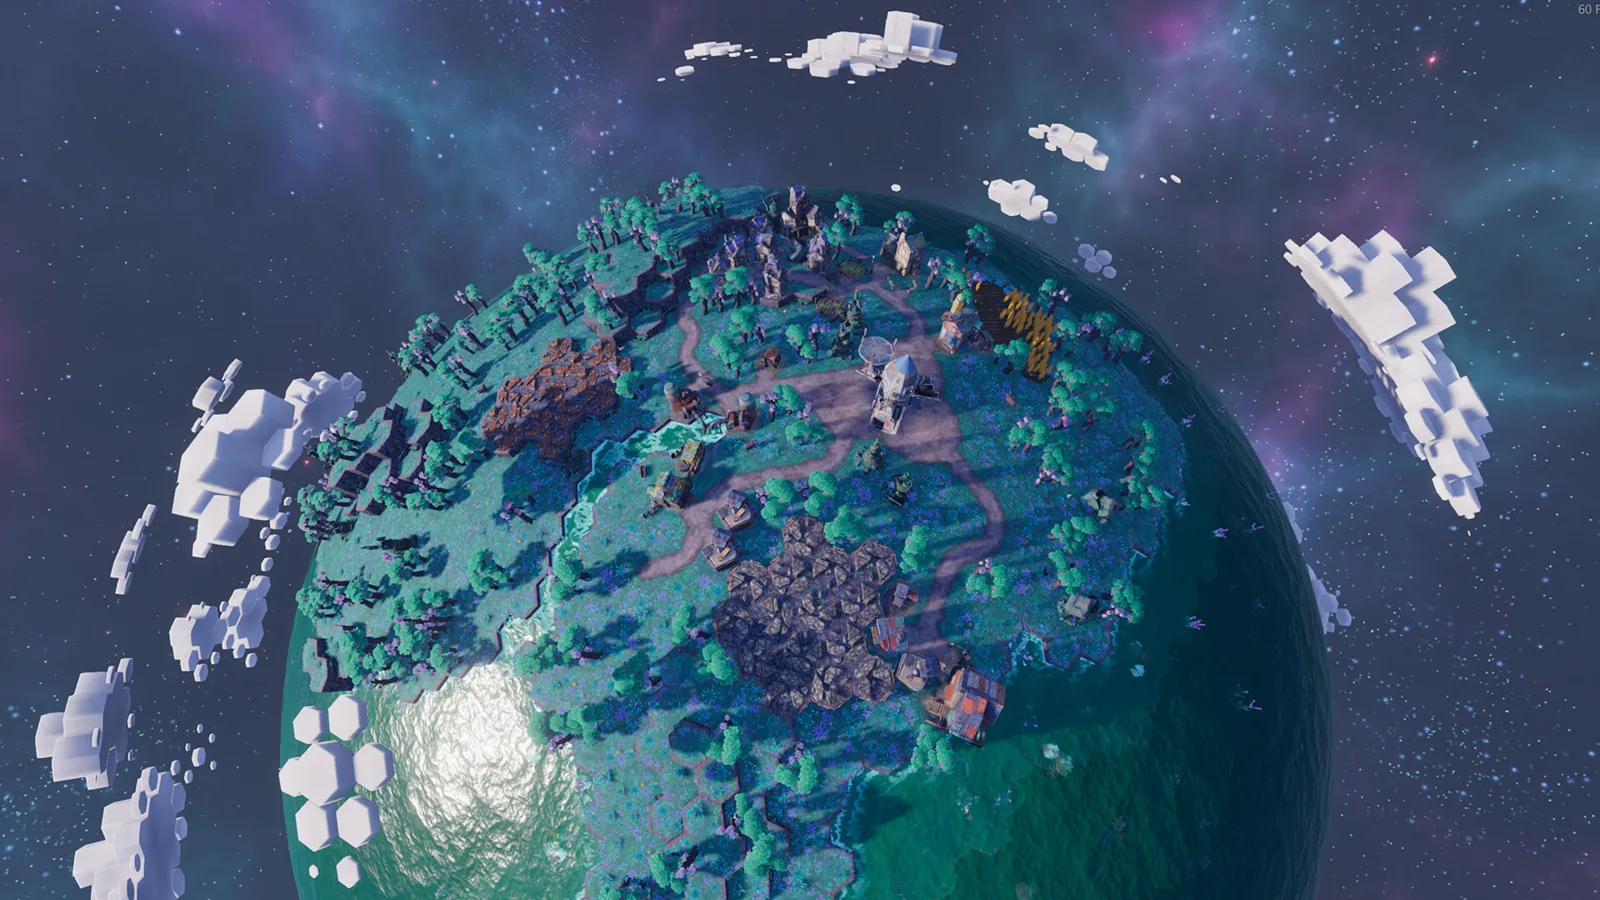
Exploration is the release valve. As Kewa travels, you can find planets with animals, seeds and new resources. The “Before You Buy” reviewer describes bringing wheat and cotton back from other planets and swapping an orchard from berries to pears. Each new planet can advance the story and widen your production options, but your main colony still needs to be self-sufficient enough to survive the trip. The reviewer also suggests trading for key resources so the colony does not run dry while travelling.
Power, roads and production priorities
Buildings need a road connection. Roads are free, but long detours cost Peep travel time, so keep production near the network you already have. Power initially travels through direct building-to-building contact; later tech adds power lines. If a building has no power, check that it is physically touching a powered building or connected by a line, not just near one.
Use the production controls. You can pause a building, change its priority, and set when it fetches inputs or delivers outputs. That is how you stop one industry from eating all your wood or filling a warehouse with the wrong goods. Storage sheds have limited slots, so tell them what to hold rather than letting them fill with the first resource that arrives.
Keep Peeps and Kewa healthy
Peeps are the colony's workforce. They need food, water, housing and reasonable working conditions; the LadiesGamers review notes that neglected Peeps can go on strike. Kewa is not just a map: pollution and poor treatment affect the whale's happiness and health. The review video describes a sick or unhappy Kewa needing to visit a debris field to recover, which can put the colony at risk. Debris-filled sectors also contain asteroids Kewa can eat for energy, but impacts can damage the colony. Treat Kewa's condition as a second dashboard, not a story detail.
Sandbox is the low-pressure classroom
The game has campaign, sandbox and scenario modes. In the first-look video's preview build, the sandbox difficulty options include toxic tile generation speed, which can be set to never, as well as pollution rate, demolition refunds, starting resources and the number of planets. Two options are especially useful for learning: unlock all buildings and instant construction. The same video shows that instant construction lets you place buildings without spending resources, so it is a planning toy rather than a normal economy.
These are preview-build options, so check the current sandbox menu after patches. If you want to learn layout and adjacency without fighting pollution, a low-pressure sandbox is a reasonable place to experiment.
If something looks stuck
Before assuming a bug, check the obvious: is the building connected to a road, does it have power, are its input resources arriving, is its output storage full, and are there Peeps assigned? Priority controls can push a stalled delivery forward. One reviewer, playing a pre-release copy, reported that reloading a save cleared production buildings that had stopped working; that is a player report from an older build, not a guaranteed fix.
Moving buildings is also worth planning. The same reviewer found short moves awkward and suggested raising the building's priority for a short relocation, while a long move is usually cleaner as a deconstruct-and-rebuild so you recover materials. If a building placed with free placement will not connect to a road, add the road connection or reload before building more on top of the problem.
Scope and version note
This is a launch-window practical guide, not a full campaign walkthrough. Beyond These Stars released in 1.0 on October 16, 2026, and the Steam community hub lists a post-launch hotfix. Details here reflect a review copy and a preview build, so small numbers, menu options and balance may have changed after launch. For a step-by-step opening, see the beginner guide; for a broader route, the walkthrough and tips pages go further.
Further reading
- Beyond These Stars on the Steam Community — patch notes, beginner resources and player discussions.
- LadiesGamers review — detailed look at pollution, terraforming and colony management.
- Before You Buy: Beyond These Stars — a player review focused on pollution, adjacency and exploration.
- Can You Build a City on a Space Whale? — first-look tutorial footage and sandbox options.
Related Articles
Continue Reading

Beginner Guide: Your First Hours
Practical early-game orientation for Beyond These Stars: tutorial pacing, soot and pollution trouble, Kewa care, and where to find the official starter guide.
Tips: Colony and Kewa Basics
Practical early-game tips for Beyond These Stars: waste control, terraforming, forests, adjacency, Kewa's mood, perks, travel, and outposts.
Space Whale: What Kewa Really Is
Kewa is the sentient space whale your city rides in Beyond These Stars. What the whale does in play, how the relationship works, and why it isn't a warship.
Walkthrough: Practical Early-Game Route
Beyond These Stars walkthrough: pollution control, terraforming, tech-tree order, exploration and the common early-game sticking points players hit first.

Buildings: A Practical Overview
What Beyond These Stars players can expect from buildings at launch: moving them, power and pollution ranges, soot, compost, and outposts.
City Building: A Practical Start
How city building works on Kewa's back in Beyond These Stars, with early layout, power, pollution and supply-chain tips from launch-week reports.